
Dispensing needles that clog, drip or give inconsistent dot sizes are usually caused by adhesive curing at the needle tip, a gauge that does not match the viscosity, air bubbles introduced during filling, or wrong pressure, time and vacuum settings. PRIMEAG suggests checking in that order; for example, use 21–25G needles for thin adhesives and 14–15G for thick ones.
The line leader reports that the needle clogs every half hour, a new needle drips, and the dots come out sometimes large, sometimes small. The culprit is usually how the adhesive is loaded, which needle is chosen and how the dispenser is set, rarely the adhesive itself.
- Clogged needle: adhesive curing at the tip, needle too small, needle material wrong for the adhesive.
- Dripping after stopping: thin adhesive without enough suck-back vacuum, loose Luer thread.
- Inconsistent dots: air bubbles, fluctuating pressure, falling fill level, changing adhesive temperature.
- Set up the dispenser starting from low pressure and short time, then increase gradually.
What determines the dispensed volume
A pneumatic dispenser works on time and pressure: each time the pedal is pressed, an air pulse pushes the piston and forces adhesive through the needle. The volume is set by pressure, time, needle gauge and viscosity; faults usually come from one variable drifting or an air leak.
Checks in order
1. Adhesive curing at the needle tip
UV adhesive cures under shop lighting. Cyanoacrylate cures on contact with moisture in the air. Two-part epoxy thickens over the mix’s pot life. Anaerobic adhesives (threadlockers) cure inside metal needles.
Fix: use plastic needles for anaerobic adhesives; when the line stops, cap the needle, dampen a 1009 polyester wiper with IPA and wipe the needle tip clean; mix epoxy in small batches.
2. Gauge too small for the viscosity
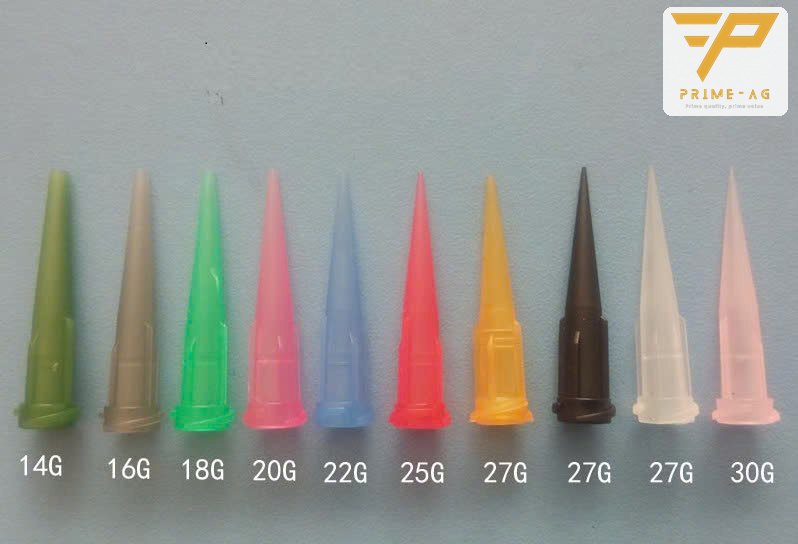
The bore gets smaller as the gauge number rises: 14G ≈ 1.54 mm, 18G ≈ 0.84 mm, 21G ≈ 0.51 mm, 25G ≈ 0.25 mm. Thick adhesive through a small needle needs more pressure and tends to clog and spurt. Hub colors differ between brands; read the gauge number on the package.
3. Wrong needle type
TT tapered plastic needles have a gradually narrowing bore, need little pressure and suit thick or filled materials such as epoxy, RTV silicone and solder paste. Stainless steel needles suit thin adhesives and small dots.
4. Air bubbles when filling
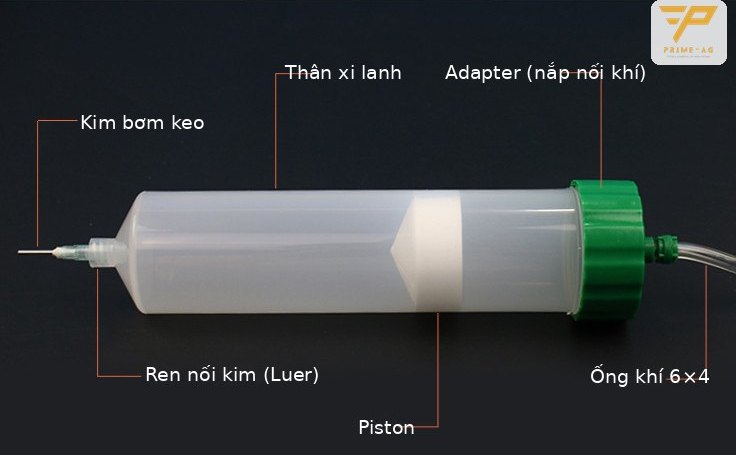
Trapped air compresses and expands, causing short dots and dripping after stopping. Fill about 2/3 of the syringe with UV adhesive or epoxy, about 1/2 with thin cyanoacrylate, and push the piston down to the adhesive surface to purge air.
5. Pressure, time and suck-back vacuum
Thin adhesive drips when the suck-back vacuum is off or too weak. Set too strong, it draws adhesive back into the air hose. Avoid high pressure with times under 0.01 s; longer times repeat better. Supply air must be dry, clean and pass through a pressure regulator.
6. Syringe, piston and Luer thread
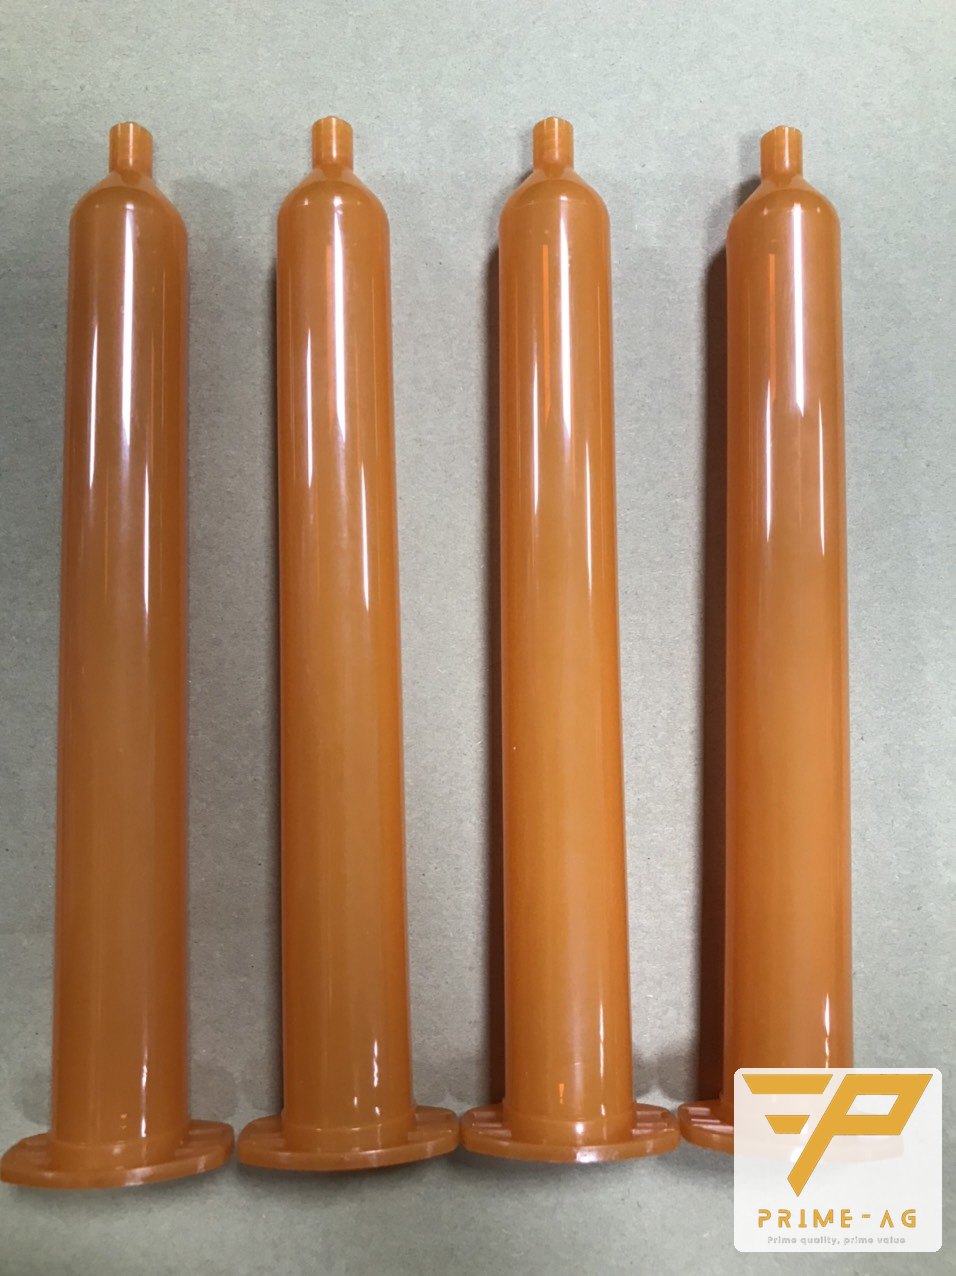
A clear syringe makes UV adhesive cure right inside the barrel; use amber or black syringes. For cyanoacrylate and thin anaerobic adhesives, use a barrier piston together with vacuum. Mixing JP and US adapters causes air leaks; a loose Luer thread lets adhesive leak at the joint.
| Symptom | Check first | Fix |
|---|---|---|
| Clogs after every break | Adhesive curing at the needle tip | Cap the needle, wipe the tip; plastic needles for anaerobic adhesives |
| Needs more pressure to dispense | Needle too small or wrong type | Larger needle; tapered needles for thick adhesives |
| Drips after releasing the pedal | Vacuum, air bubbles, Luer thread | Set just enough vacuum, refill, tighten the needle |
| Dots shrink over the shift | Falling fill level, adhesive temperature | Do not overfill, adjust the time |
Release all pressure before removing the syringe from the adapter; wear safety glasses when operating. Do not heat the syringe above 38 °C.
When to change the needle and re-select by viscosity
Change the needle when the tip is worn, bent or has cured adhesive inside, or when switching adhesives. Syringes and pistons are also single-use; washing and reusing them reduces accuracy.
- Thin adhesives (UV, instant adhesives): stainless steel needles 21–25G, 10–30 cc syringes, black syringes for UV adhesives.
- Medium adhesives (silicone, epoxy): 16–18G, 30–50 cc syringes.
- Thick adhesives, solder paste: 14–15G, 50–70 cc syringes.
Needle sizes and JP, US and MSS syringes: dispensing syringes, needles and dispensers. How to tell syringe systems apart and the four needle types: choosing syringes and dispensing needles for each adhesive.
Self-check after adjusting
- Dispense 20 test dots on a test plate and compare their size by eye or with a magnifier.
- Record pressure, time and needle gauge for each adhesive.
Frequently asked questions
- Can a clogged dispensing needle be cleared and reused? — Plastic needles and plastic-hub stainless steel needles are single-use; replace them when clogged. All-metal needles can be reused after washing in a solvent suited to the adhesive.
- Why do the adhesive dots get smaller toward the end of the syringe? — As the adhesive level falls, the air cushion above it grows, so the same pressure and time dispense less adhesive. Adjust the time or use a smaller syringe.
- Can UV adhesive be used in a clear syringe? — Not recommended. Under shop lighting, UV adhesive cures right inside the syringe and needle tip. Use an amber or opaque black syringe.
Email: info@primeag.vn · Phone/Zalo: +84 906 108 292
Written by the PRIMEAG engineering team
Updated: 2026-10-27