
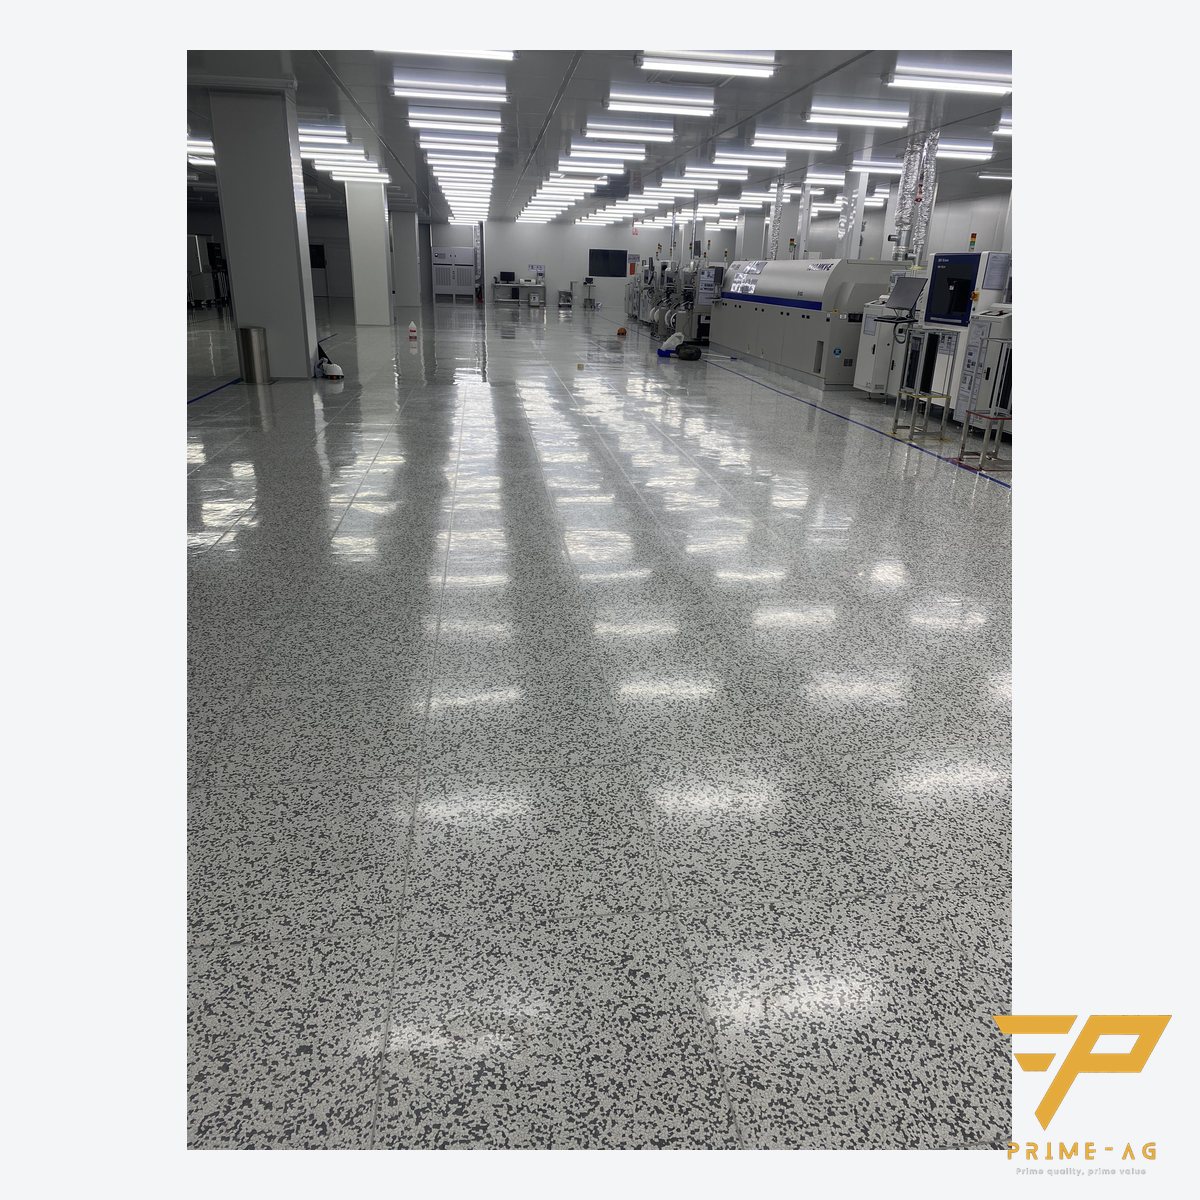
ESD PVC floor tiles lifting at the edges or opening at the joints? In most cases the subfloor still had moisture above 2.5 %, the subfloor was not level, the conductive adhesive was applied below the 0.3 kg/m² rate, or tiles were laid before the adhesive reached open time; forklifts turning on the spot are a mechanical cause. Repair tile by tile, then re-measure; PRIMEAG gives a 12-month installation warranty.
A few months after an ESD PVC floor is laid, tile edges start curling up, joints keep widening, and stepping on a tile gives a hollow “pop” because there is a void underneath. Lift one tile and look: the answer usually lies in the adhesive layer and the subfloor, not in the tile.
- Look at the underside of the lifted tile: milky white adhesive → damp subfloor; adhesive stuck to one side only → laid at the wrong time or too little adhesive; adhesive intact, crumbly subfloor → weak subfloor.
- Gaps along one line: forklift route or an area with large temperature swings.
- Single 600×600 tiles can be repaired; after 72 hours re-measure the resistance of that tile.
- Warranty: installation 12 months, materials 24 months.
1. Read the evidence on the lifted tile
Lift the loose tile and turn it over:
| Sign on the tile underside and subfloor | Cause | Fault group |
|---|---|---|
| Milky white, soft adhesive, damp smell | Subfloor not dry when laid (residual moisture > 2.5 % by CM test) or moisture rising from below | Subfloor |
| Tile hollow in the middle, adhesive only at the outer rim; dust stuck in the adhesive | Subfloor not level (more than 3 mm/2 m), not ground clean, not rolled | Subfloor / installation |
| Adhesive on one side only, the other side smooth | Laid before the adhesive reached open time, or left to dry too long | Installation |
| Thin, patchy adhesive, subfloor visible | Applied below the 0.3 kg/m² rate | Adhesive |
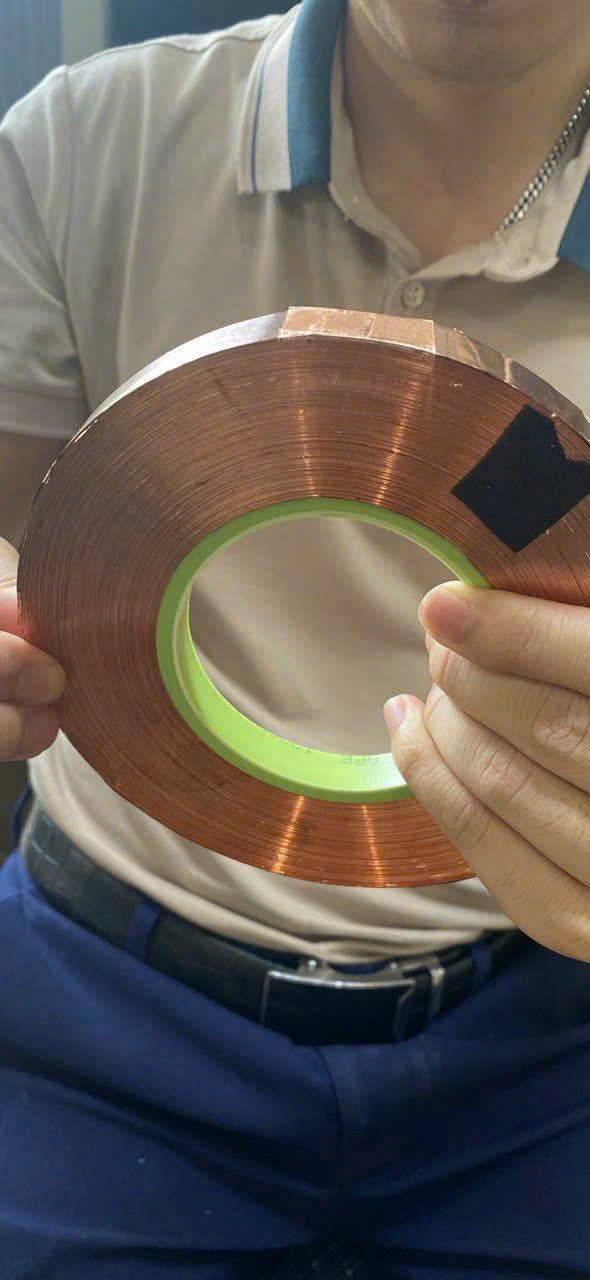
The conductive adhesive is also the path that carries charge down to the 3×3 m copper tape grid; with too little adhesive, the resistance to ground of that tile rises even though the tile stays in place.
2. Gaps spreading along a line: look at loads and temperature
- Forklifts turning on the spot: the lateral shear force exceeds the adhesive bond and pushes tile edges to one side. Solution: define travel routes and no turning on the ESD floor; where turning is unavoidable, use welded-seam sheet flooring.
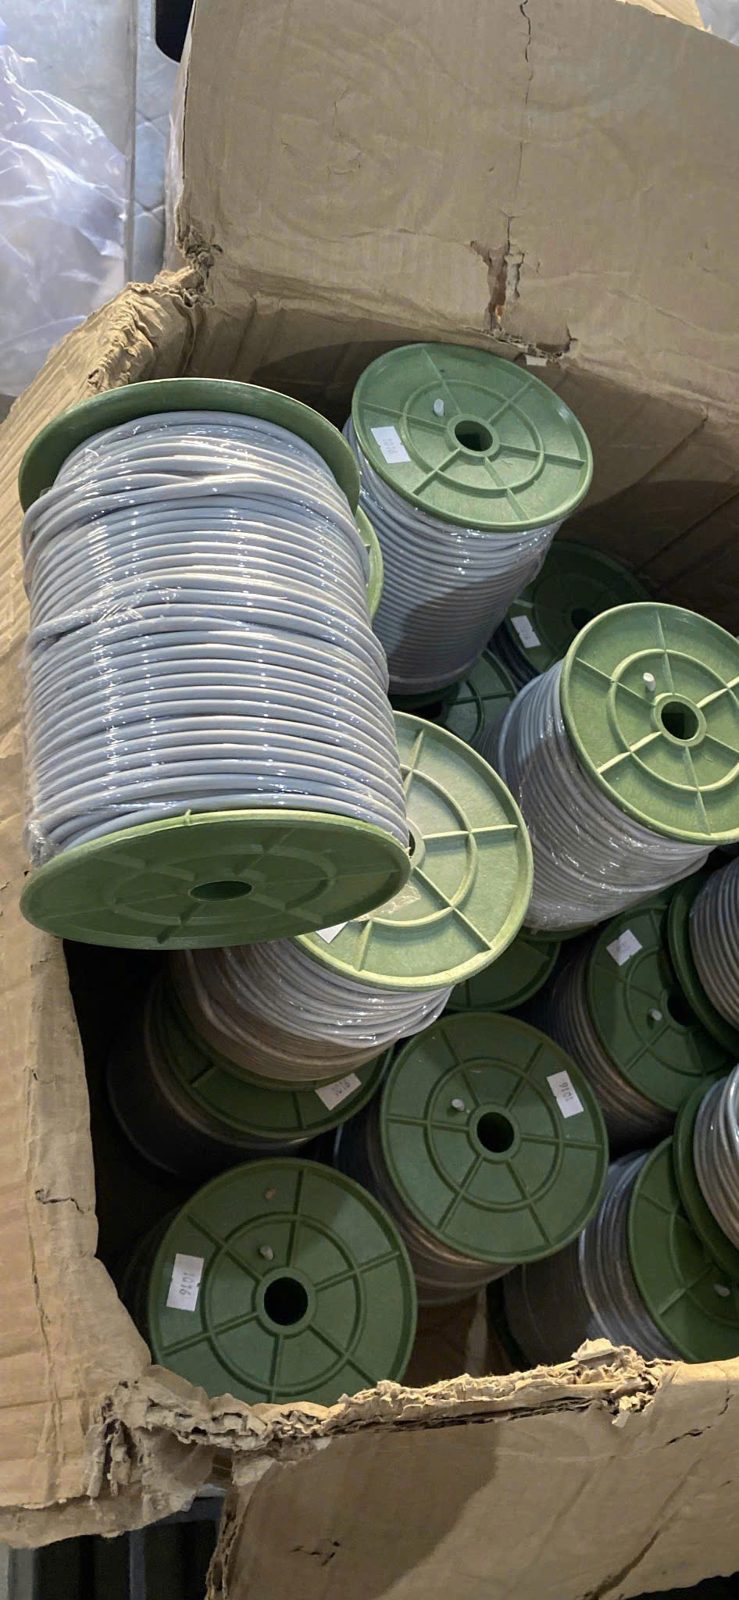
- Temperature changes: tiles near roller shutters, under heat-emitting machines or in direct sunlight expand and contract more; gaps appear at the hot–cold boundary. Solution: block the sun, leave an expansion gap at the walls, weld the joints with rod.
3. Repairing a single tile: 6 steps
- Remove the loose tile, mark its position and pattern direction.
- Scrape the old adhesive off the subfloor and the tile; if the subfloor is damp, let it dry and re-measure the moisture.
- Check the copper tape under the tile: if broken or oxidised black, replace that section, overlapping it with the grid.
- Apply conductive adhesive at the full 0.3 kg/m², wait for open time, lay the tile, roll from the centre out to the edges.
- Wait 72 hours with no forklift traffic.
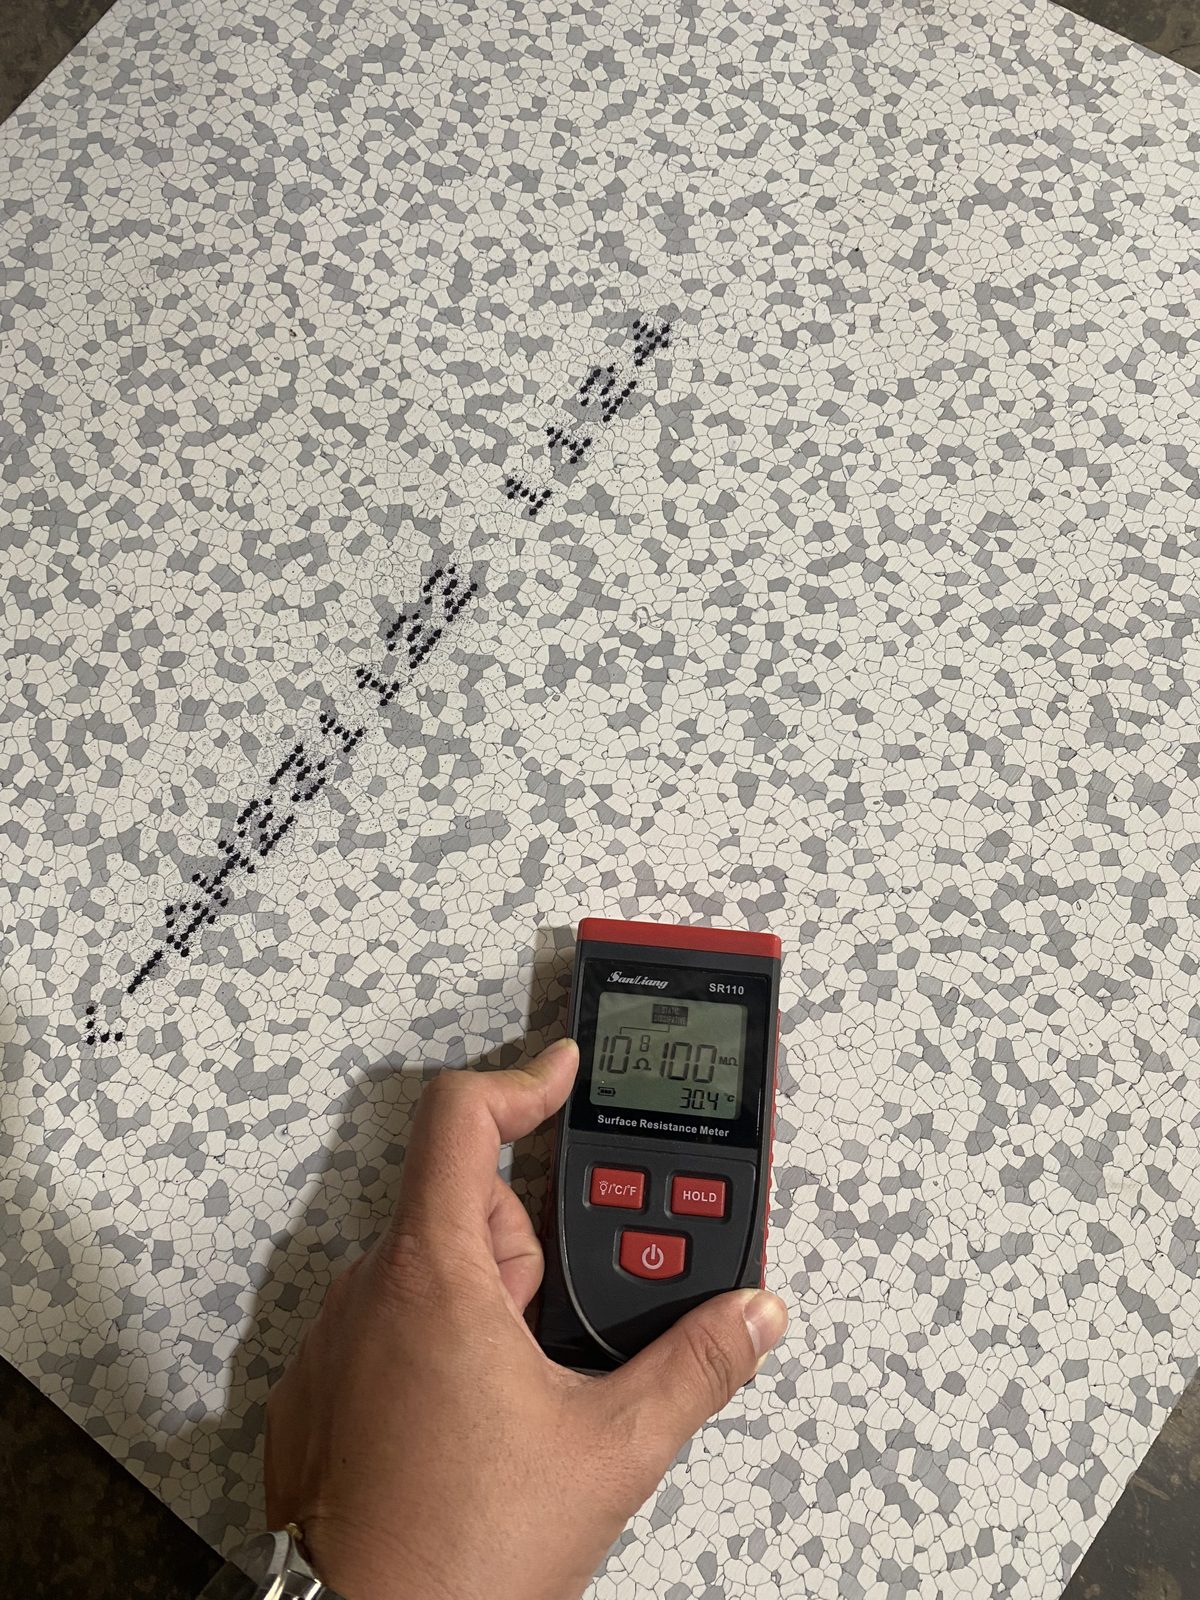
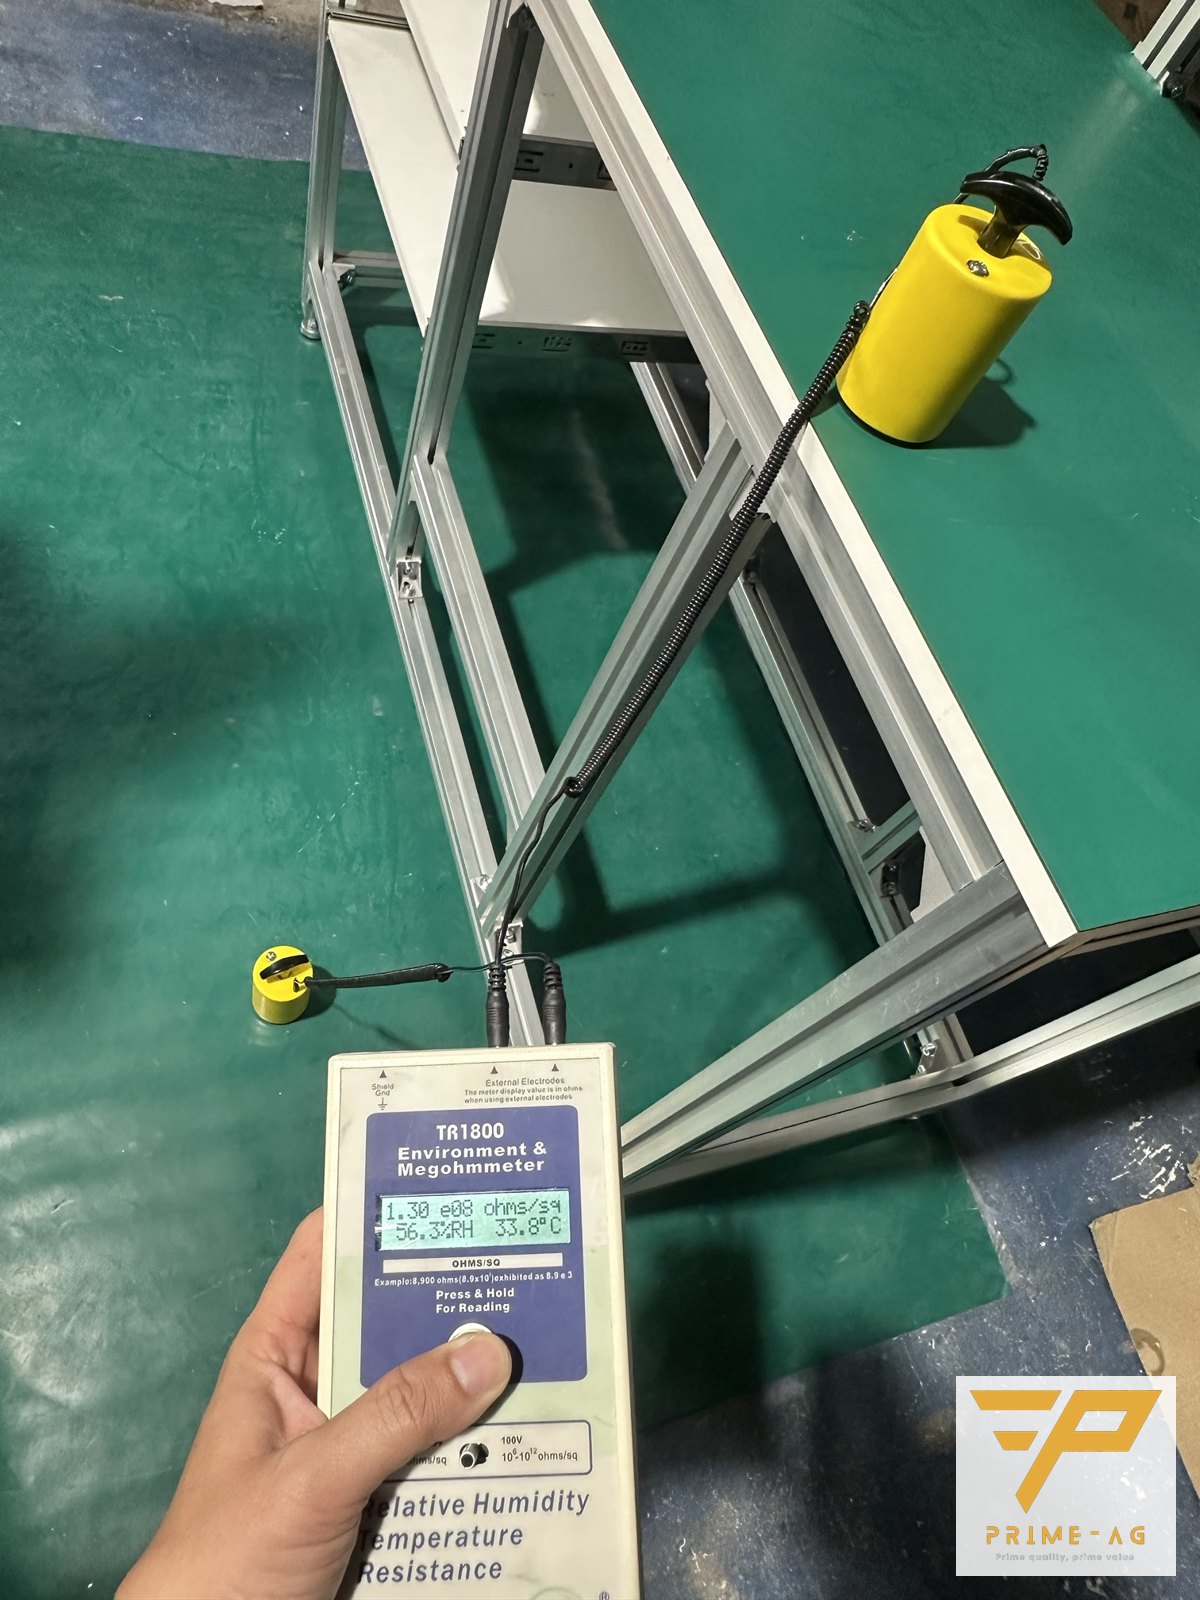
- Measure resistance to ground of the repaired tile: conductive floor within 10⁴–10⁶ Ω, dissipative 10⁶–10⁹ Ω, record %RH; if clearly higher than the neighbouring tile, redo it.
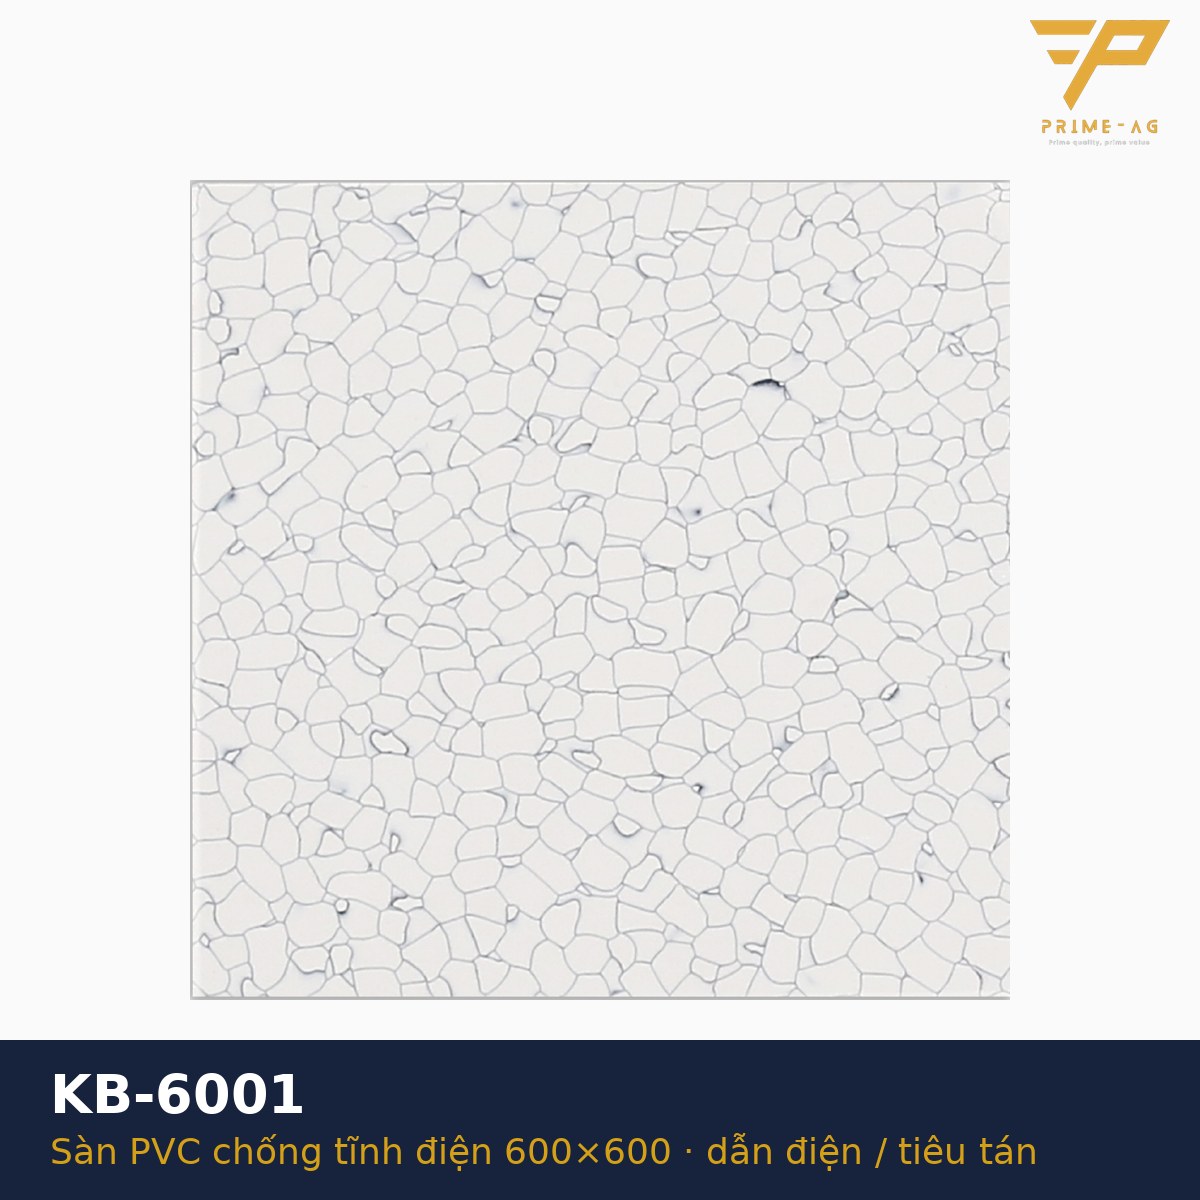
Replacement tiles should have the same colour code: KB-6001 and KB-6003 are standard colours delivered in 24–48 hours in Ho Chi Minh City, Binh Duong and Dong Nai; other colours are only accepted for large orders, so keep a few spare tiles from the original installation. If you have no meter yet, factories in these three areas can book PRIMEAG to come and measure free of charge with a TR1800 and 5 lb electrode, with no limit on measurement points and no obligation to buy; a PDF report follows in 3–5 working days, for reference only.
4. Local repair or redo the whole area
Scattered loose tiles under 5 % with dry adhesive: repair tile by tile. Milky white adhesive in many tiles far apart: widespread subfloor moisture, so remove the whole area, waterproof and relay. Floor handed over less than 12 months ago: call the installer under warranty and keep the removed tiles as evidence. See also ESD PVC floor installation and acceptance procedure and comparison of PVC, epoxy, mats and raised floors.
Self-check before calling the installer
- Mark the loose tiles on the floor plan; photograph the underside of 2–3 removed tiles; find the subfloor moisture record, the copper tape grid drawing and the handover date.
- Send the photos and drawing to PRIMEAG; ESD PVC floor tiles 600×600 and turnkey installation are quoted within 30 minutes, excluding 8 % VAT.
Subfloor, adhesive and copper tape rates and waiting times follow PRIMEAG’s installation procedure; other contractors may differ.
Frequently asked questions
- Are lifting edges on an ESD PVC floor caused by poor-quality tiles? — Rarely. Homogeneous PVC tiles 2–3 mm thick very seldom curl by themselves; lifting edges are almost always due to a damp subfloor, an uneven subfloor, too little adhesive or laying at the wrong open time. Turn a removed tile over and you will see it.
- After re-gluing one tile, do I need to measure the resistance again? — Yes. The conductive adhesive and copper tape under the tile are the charge drain path; with too little adhesive or broken copper tape the tile stays in place but resistance to ground rises. Wait 72 hours, then measure that tile and compare it with the neighbouring one.
- The floor lifted after 8 months: who pays for the repair? — If PRIMEAG installed it, lifting due to adhesive or workmanship within 12 months of handover is covered by the installation warranty; tile defects are covered by the 24-month materials warranty. Mechanical damage (forklifts turning on the spot, subfloor changes after handover) is handled under the warranty terms in the installation contract.
Mon–Sat, 8:00–17:00 (GMT+7) · Phone/Zalo: +84 906 108 292 · Email: info@primeag.vn
Start where it suits you: Free technical advice · Send a drawing or layout · Get a quote within 30 minutes
Written by the PRIMEAG engineering team
Updated: 2026-10-23