
Water inside a vapor-tight (moisture-proof) LED fitting is usually caused by a hardened or misaligned gasket, missing clips, a loose cable gland, a fitting directly in the hose spray path, or condensation. PRIMEAG recommends switching off the power and checking in that order; if the G13 pins are rusted, replace the whole unit, and in pressure-wash areas choose lights clearly rated IPx5/IPx6.
In the tray washing area, the night shift reports a row of lights flickering and then going out. Opening the fitting shows water pooled along the bottom and rusty tube pins, even though the lights were installed only a few months ago.
- Cut the power before opening the fitting; leave wiring work to an electrician.
- Water gets in mainly through the gasket, the clips and the cable gland.
- Lights within reach of the hose spray need an IPx5/IPx6 rating marked on the label.
- If the tube pins or connectors are rusted, replace them; do not just dry them and switch back on.
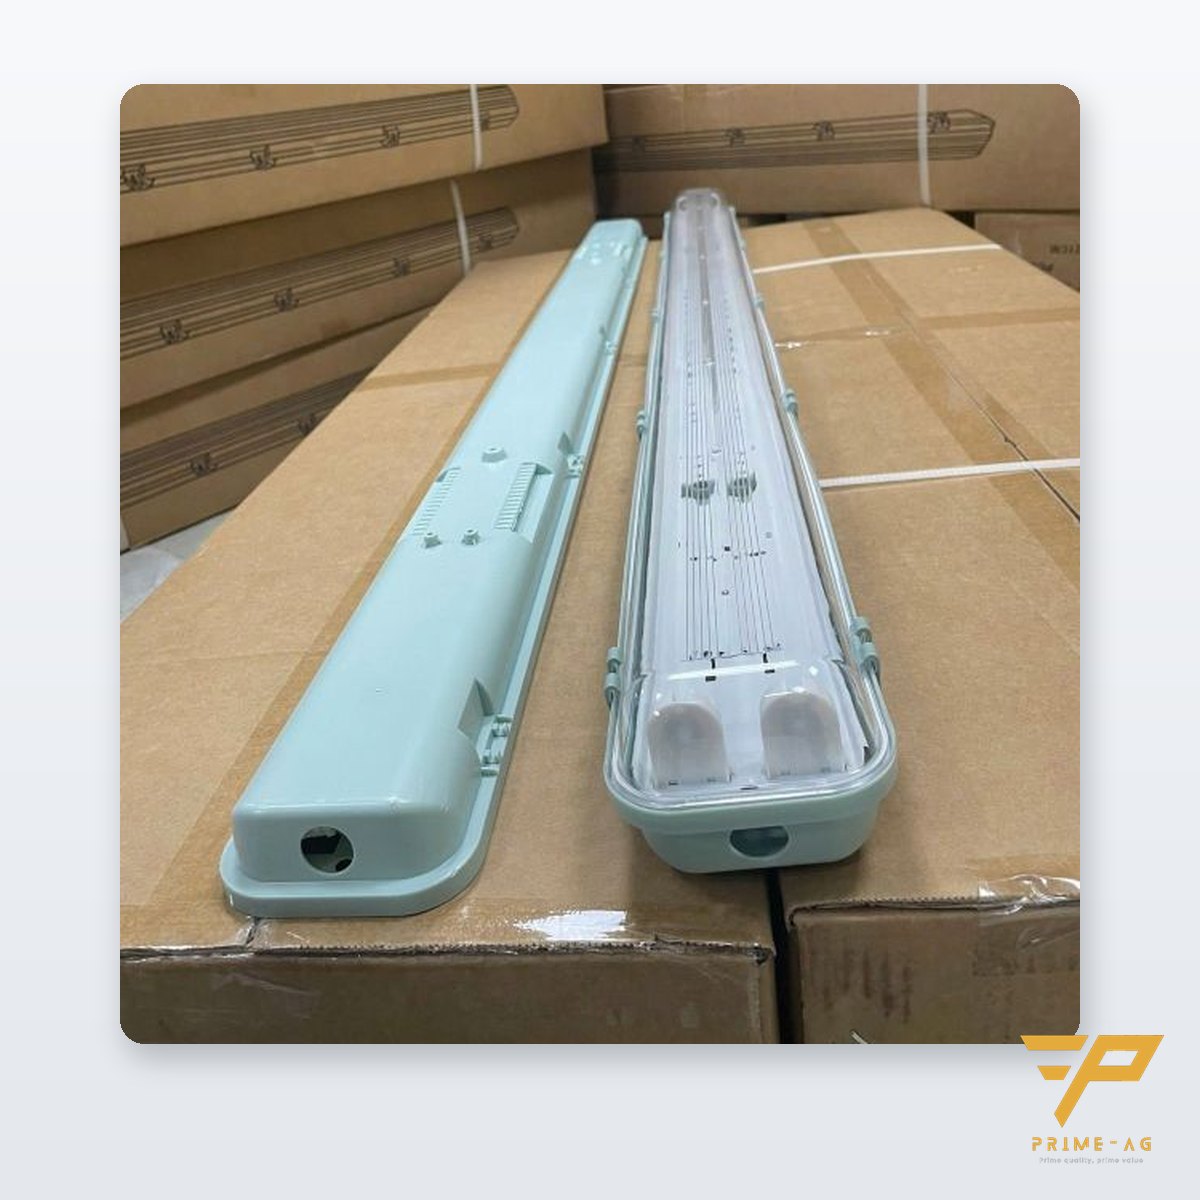
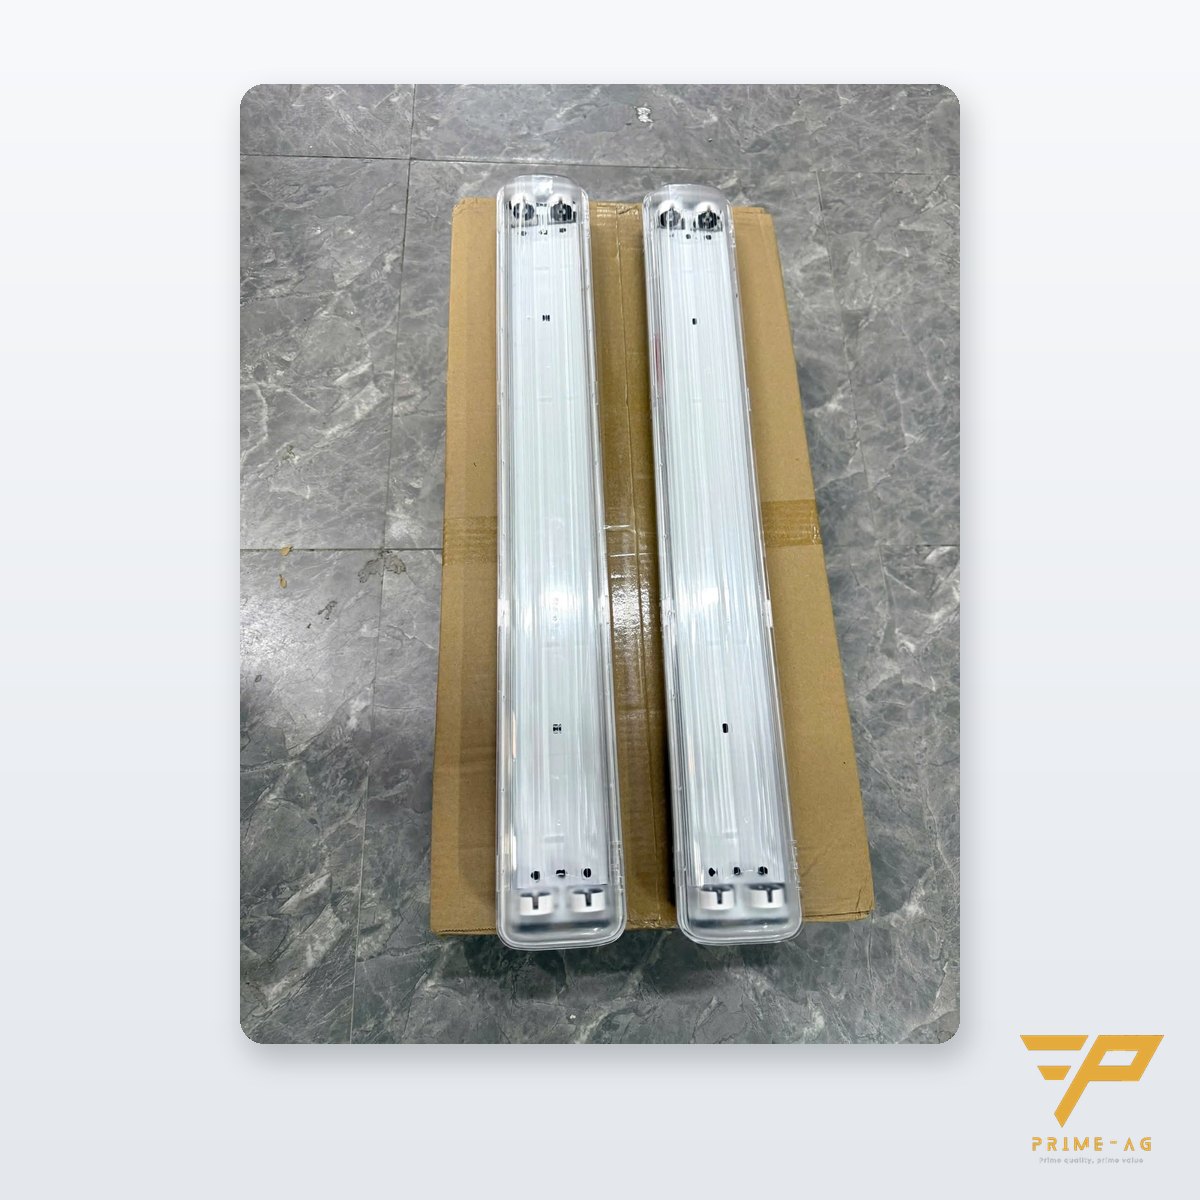
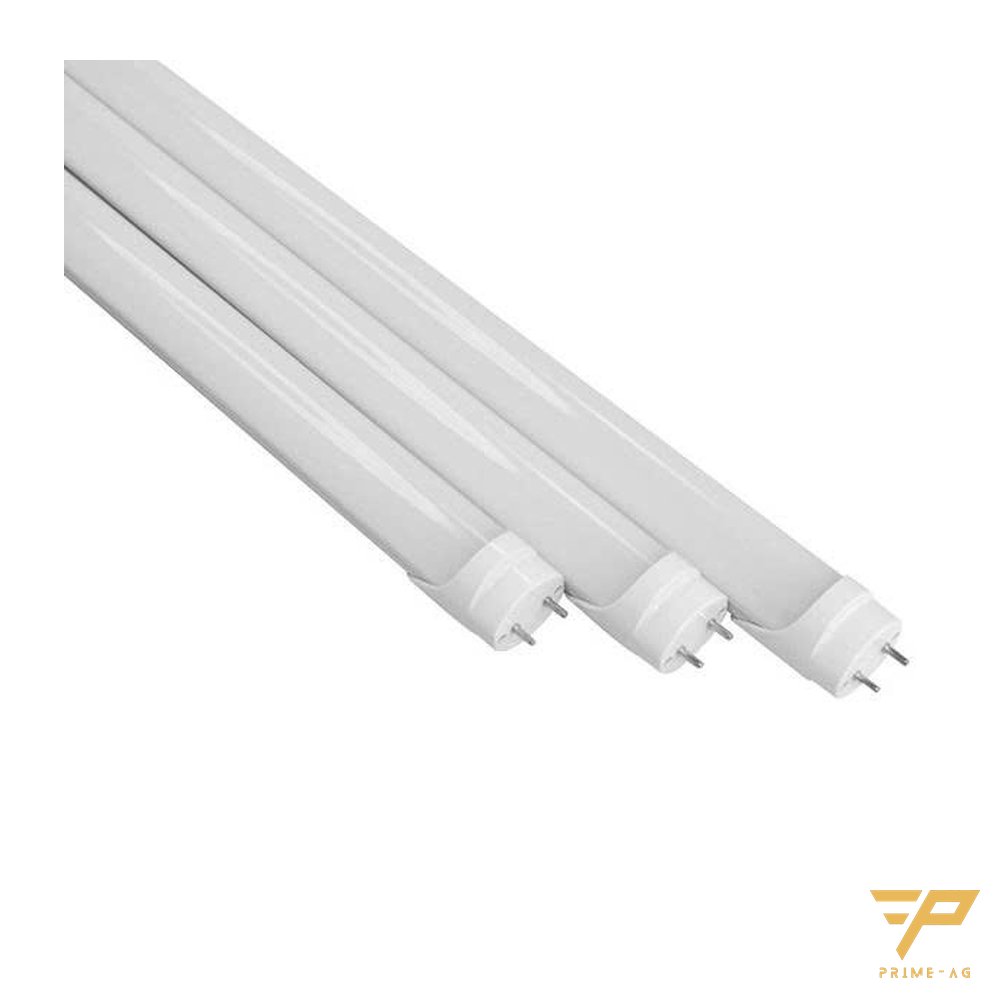
Water in vapor-tight LED fittings: check causes in order
Switch off the branch circuit breaker and wait for the light to cool before opening the clips. The first item is the most common.
- Rubber gasket: hardened, torn, or pulled out of its groove during the last tube change.
- Clips: a single open clip is enough for the cover to warp and the fitting to lose its seal.
- Cable gland: cable smaller than the gland size, gland not tightened, or an unused entry left open. A cable dropping straight down from the ceiling guides water along the cable into the fitting.
- Washdown position: lights hung low, right in the path of the pressure hose during cleaning. A water jet stronger than what the light was tested for will be forced past the gasket.
- Heat and humidity: the light warms up when on and cools when off in steam-laden air; the fitting draws in moisture through small gaps, which condenses into droplets, common near steaming areas.
Ruling out each cause
Wipe the fitting dry and look for water marks. Marks concentrated at the cable entry end: suspect the cable gland. Marks running along the edge: gasket or clips. Fine droplets evenly covering the inside of the cover: condensation.
If the gasket is still elastic, press it back into the groove and close all clips. If the cable gland is loose, retighten it and route the cable from below or form a drip loop.
If the hose jet sweeps across the light, move the light or change the spray direction. After the fix, monitor for a few wash shifts; if water still appears, move on to the next item.
Clean the cover with a damp cloth or alcohol. Glass cleaners containing ammonia, acetone or strong alkali make the polycarbonate cover cloudy and cracked, opening a path for water.
When to replace rather than repair
| What you find when opening the fitting | Action |
|---|---|
| Gasket hardened or torn; tube pins still clean | Replace the gasket, close all clips |
| G13 pins or connectors rusted or discolored | Replace the whole fitting |
| Fitting is dry but the tube still flickers | Replace with a G13 LED tube of the same wiring type, correct length and wattage |
| Light sits in the pressure hose path | Relocate it or choose a light with IPx5/IPx6 on the datasheet |
Per IEC 60529: IPx5 is tested with a 6.3 mm nozzle at 12.5 L/min from all directions; IPx6 uses a 12.5 mm nozzle at 100 L/min. IPx7 is immersion to 1 m for 30 minutes and does not include resistance to water jets.
Solutions and products
PRIMEAG supplies sealed vapor-tight LED fittings with G13 tubes in 0.6 m (10 W) and 1.2 m (20 W), single or twin.
IP and IK ratings and cover material for each model follow the supplier’s datasheet; for washdown areas, request the datasheet to compare before ordering. Lights bought separately are covered by the manufacturer’s warranty policy.
How to choose and lay out lights for an entire wet area is covered in the article choosing and laying out vapor-tight LED lights for wet processing areas. If trolleys in the same area also rust and their wheels jam, see the article stainless casters rusting and jamming in wash areas on checking forks, bearings and tires.
Quick self-check
- Switch off and lock out the branch breaker before touching the light.
- Count the clips and check that the gasket sits evenly in its groove.
- Check which direction the cable enters the light and whether the cable gland is tight or loose.
- Note the number of failed lights and the mounting height, and send them via the consultation page to get a replacement recommendation.
Frequently asked questions
Water got inside a vapor-tight light fixture: can I dry it and keep using it? Only if the lamp pins and connectors are still clean and you have found where the water got in. If there is rust or discoloration, replace it, because poor contact will heat up and the flickering will come back.
Can an IP67-rated light be used where we pressure-wash? Not necessarily. Under IEC 60529, the x7 immersion level does not include a water jet test; for pressure-wash areas choose a light clearly marked IPx5 or IPx6.
Do I also have to replace the LED tube when I replace the gasket? Not required. If the tube still lights evenly and the G13 pins are clean, keep it; if you replace it, use a G13 tube with the same wiring type as the fitting.
Updated: 01/11/2026 — PRIMEAG engineering team
Email: info@primeag.vn · Phone/Zalo: +84 906 108 292
Written by the PRIMEAG engineering team
Updated: 2026-11-01