
Vacuum packing anti-static bags is only really needed for ESD aluminum moisture barrier bags used to dry-pack MSL components: draw a light vacuum so the bag hugs the load, then heat-seal it with desiccant and an HIC card. 0.075 mm shielding bags holding PCBs should usually not be vacuumed. PRIMEAG in Vietnam recommends padding sharp corners before vacuuming.
A common search term is “EMI shielding vacuum bags”. Usually it is the packing team wanting tidier cartons. But drawing out all the air does not make the bag shield against discharge any better. It only pulls the film tight against the goods, which helps when moisture must be kept out and does harm when a board has tall components or sharp pins.
- Vacuum lightly: ESD aluminum bags holding moisture-sensitive ICs, reels and component trays.
- Usually do not vacuum: shielding bags holding boards with capacitors, connectors or heatsinks.
- PE/PA bags vacuum well but have no ESD function.
- Three risks: crushed components, bags punctured at sharp corners, HIC card pressed out of position.
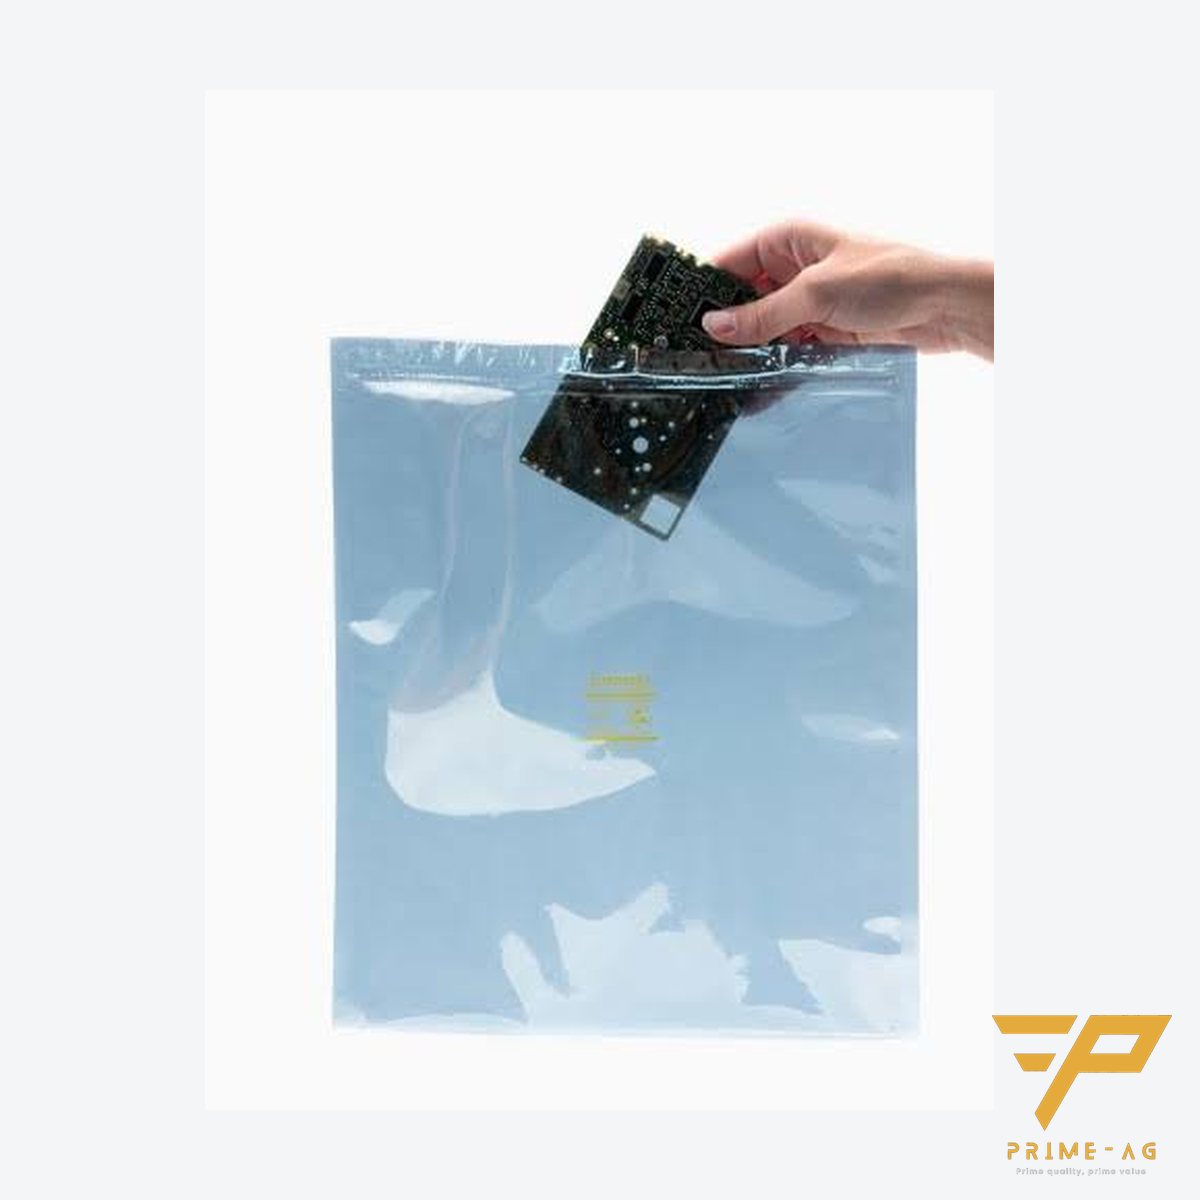
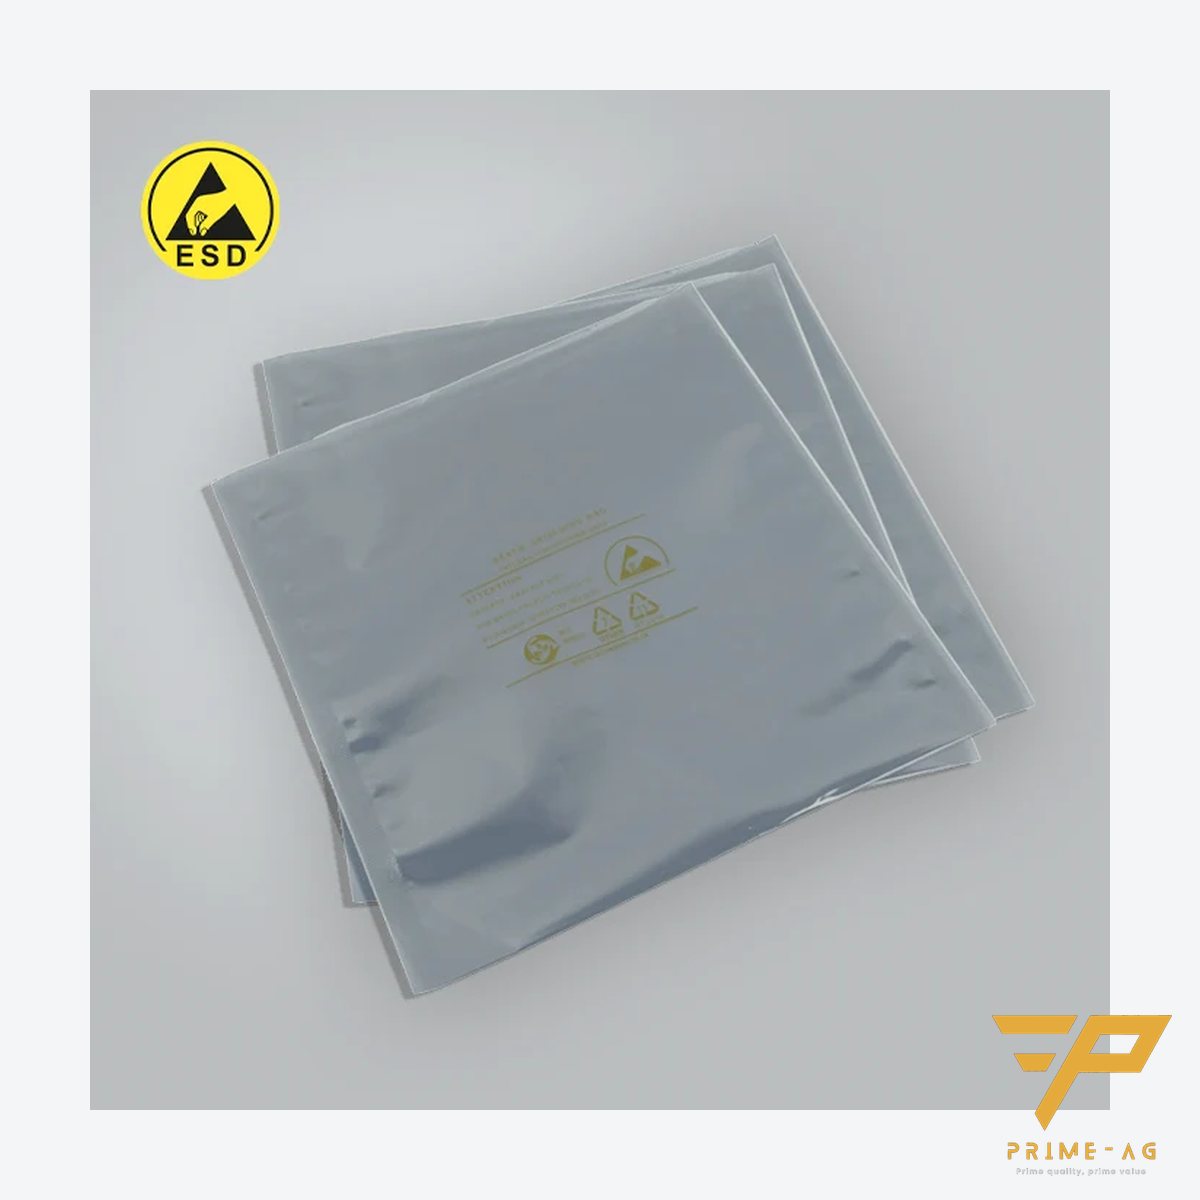
When to use anti-static vacuum bags
Discharge shielding is the job of the continuous metal layer; the amount of air in the bag makes no difference. For components with an MSL label, a light vacuum helps reduce trapped moist air.
- Vacuum: aluminum dry-pack bags for ICs, BGAs, LEDs and reels. A vacuumed bag that puffs up again a few days later means the seal or film is leaking.
- Do not vacuum: boards with tall components, zip-lock bags.
- PE/PA bags: suitable for metal parts that need protection against oxidation.
How to size the desiccant and read the card is covered in the article on dry-pack packaging for MSL components; this article only covers vacuuming and sealing.
Which bags can withstand vacuum packing
| Bag type | Properties | Vacuum packing |
|---|---|---|
| ESD shielding | PET – VMPET 12 µm – CPP 60 µm, 0.075 mm thick, 10⁶–10⁹ Ω on both sides; low moisture barrier | Limited; the metal layer cracks easily when stretched and folded |
| ESD moisture barrier aluminum bag | Laminate with aluminum foil; sizes 350×500, 600×400 mm or custom | Yes, light vacuum then seal |
| PE/PA | PA resists puncture, PE heat-seals well; not ESD | Yes, as an outer layer |
All three types are on the shielding bags, moisture barrier aluminum bags and PE/PA vacuum bags page, with a 20-bag sample available for trials.
Risks of vacuuming and how to avoid them
Tall components get crushed
Atmospheric pressure presses the film onto electrolytic capacitors, connectors and heatsinks. For such boards, just smooth the excess air out by hand and then seal.
Sharp corners puncture the bag
Board edges and through-hole pins are where the film is stretched the most. A single pinhole is enough to lose the moisture barrier; a tear or sharp crease opens up the shielding layer. Pad the corners with anti-static cushioning and inspect the bag after vacuuming.
Desiccant and card get pressed
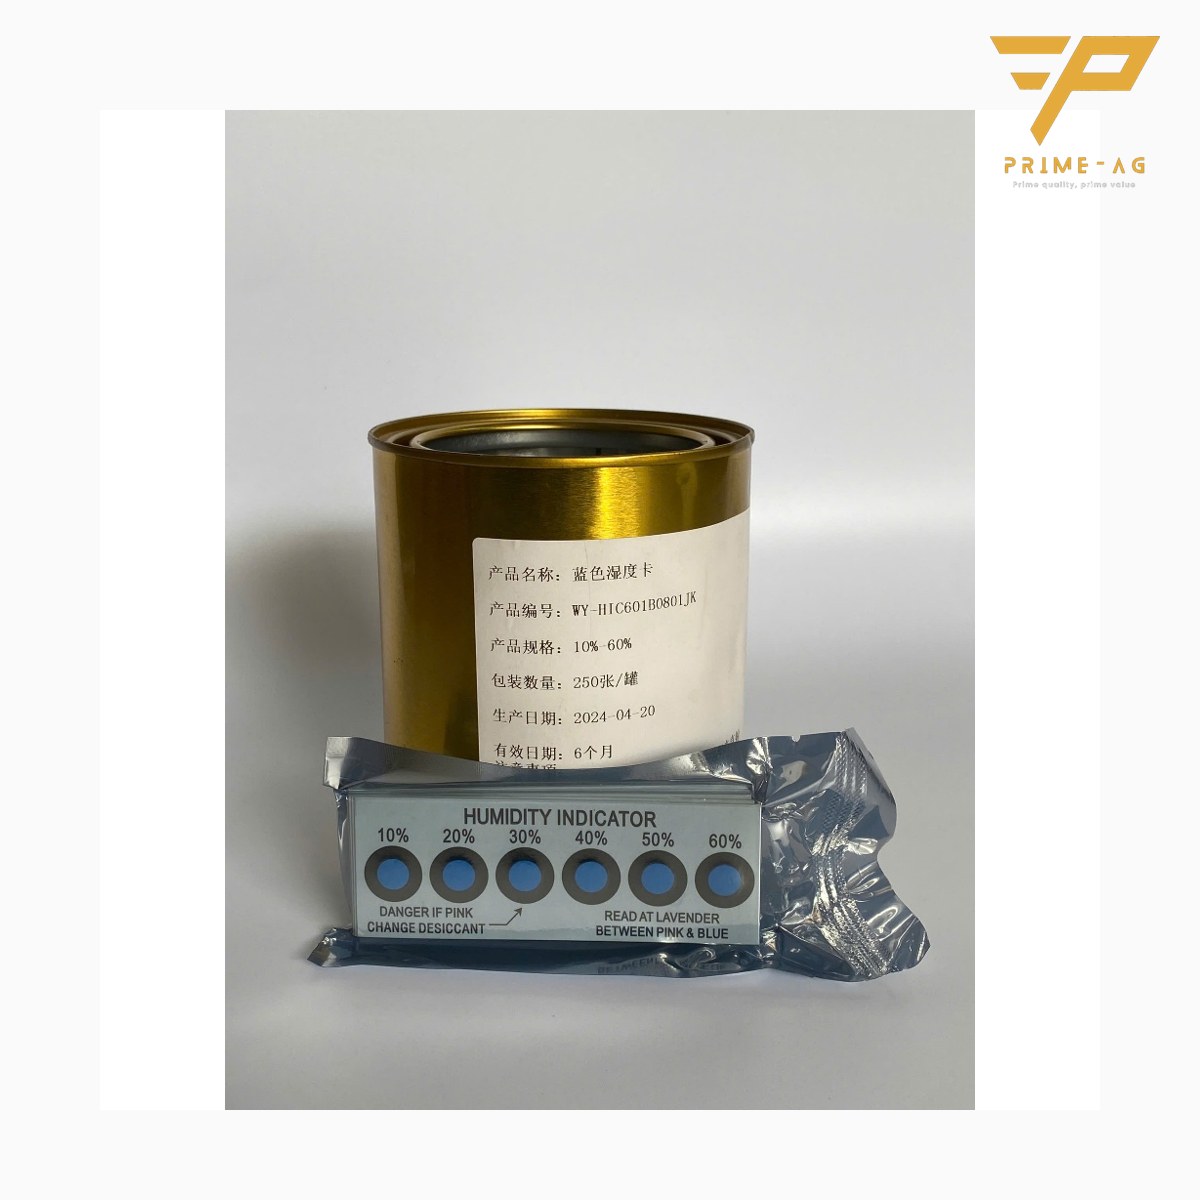
Place the silica gel desiccant in a flat empty space, not on top of component bodies. Put the cobalt-free 6-dot HIC card (10–60 % RH) close to the bag opening, printed side facing out, so it can be read as soon as the bag is opened.
Sealing after vacuuming
Vacuum and bag sealing machines are not PRIMEAG products; with the machine you already have, check:
- The seal area is free of dust, oil and wrinkles; leave enough spare edge.
- The seal line is continuous with no bubbles; pull-test one sample per shift. The shielding bag material is specified with a seal strength of ≥ 25 N (ASTM F88).
- Leave aluminum bags overnight; if a bag puffs up again, open it and replace the desiccant and card with new ones.
For signs that a shielding bag folded many times should be discarded, see the article on reusing shielding bags.
Where to start
- Separate goods that only need discharge shielding from goods that need MSL moisture protection.
- Vacuum a sample bag and inspect it for cracks and holes at sharp corners.
- If you need surface resistance readings for the benches, mats and bags in the packing area: factories in Ho Chi Minh City, Binh Duong or Dong Nai can book PRIMEAG (Mon–Sat) for free resistance measurement with a TR1800 and 5 lb electrodes, unlimited points, including items bought elsewhere, no purchase required; the appointment is confirmed the same day the request is sent, the visit takes place within 3–5 working days and the PDF file with photos follows 3–5 working days after that; these are internal reference data, not audit documents.
- Send board dimensions and monthly bag quantity via the quote request; we reply within 30 minutes.
For export processing enterprises (EPE), invoices are issued at VAT 0%; for orders from 20 million VND, PRIMEAG handles the on-the-spot import/export customs declaration free of charge.
Frequently asked questions
Does vacuum packing make an ESD shielding bag shield better? No. Shielding comes from the continuous metal layer; a strong vacuum can even crack this layer where the film is stretched and folded around components.
Can a PCB go straight into a PE/PA vacuum bag? Not recommended. PE/PA film has no metal layer and no ESD coating; the board must be packed in a shielding bag first.
How strong a vacuum should be used on aluminum moisture barrier bags with MSL components? Only a light vacuum, just enough for the bag to hug the load; if the film shows a sharp outline of the components, it is too much and can bend leads or puncture the bag.
Updated: 31 Oct 2026 — PRIMEAG engineering team
Email: info@primeag.vn · Phone/Zalo: +84 906 108 292
Written by the PRIMEAG engineering team
Updated: 2026-10-31